Dreaming of next spring — Bulb planting
This is an exciting time of year: While the garden is beginning to look like it is fading after the summer, you can start preparing a blaze of colour for next year, by planting spring and summer flowering bulbs. Bulbs are usually vibrant flowerers and in particular spring-flowering bulbs can add waves of colour before many other annual or perennial plants start to put on a show. Bulbs also offer great variety in terms of colours, shades, heights and flower shapes.
What to buy
As ever, buy from a reputable supplier. Cheap doesn’t usually mean good when it comes to bulbs. Bulbs which aren’t dry and firm when they arrive, or are noticeably small when compared to others of the same type, are unlikely to succeed. However, bulbs are easy to buy online or from a catalogue, using a picture and description as a guide, whereas with other perennials you might want to see the exact plant at a nursery or garden centre before you part with your cash.
Think carefully about which bulbs to plant where, by looking at the flowering time. Most bulbs will flower for a period of weeks, and then leave a clump of leaves after flowering. So these leaves could obstruct other plants – especially other bulbs. So it is often best not to plant bulbs which flower in quick succession in the same spot, as you could lose the effect. Alliums are an exception, as these will grow a large rosette of leaves from early spring, which will then wilt and drop away before the flower comes in late spring/early summer, so it is often good to plant these in amongst other plants which have foliage in May/June.
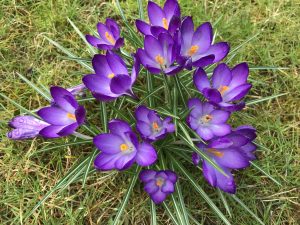
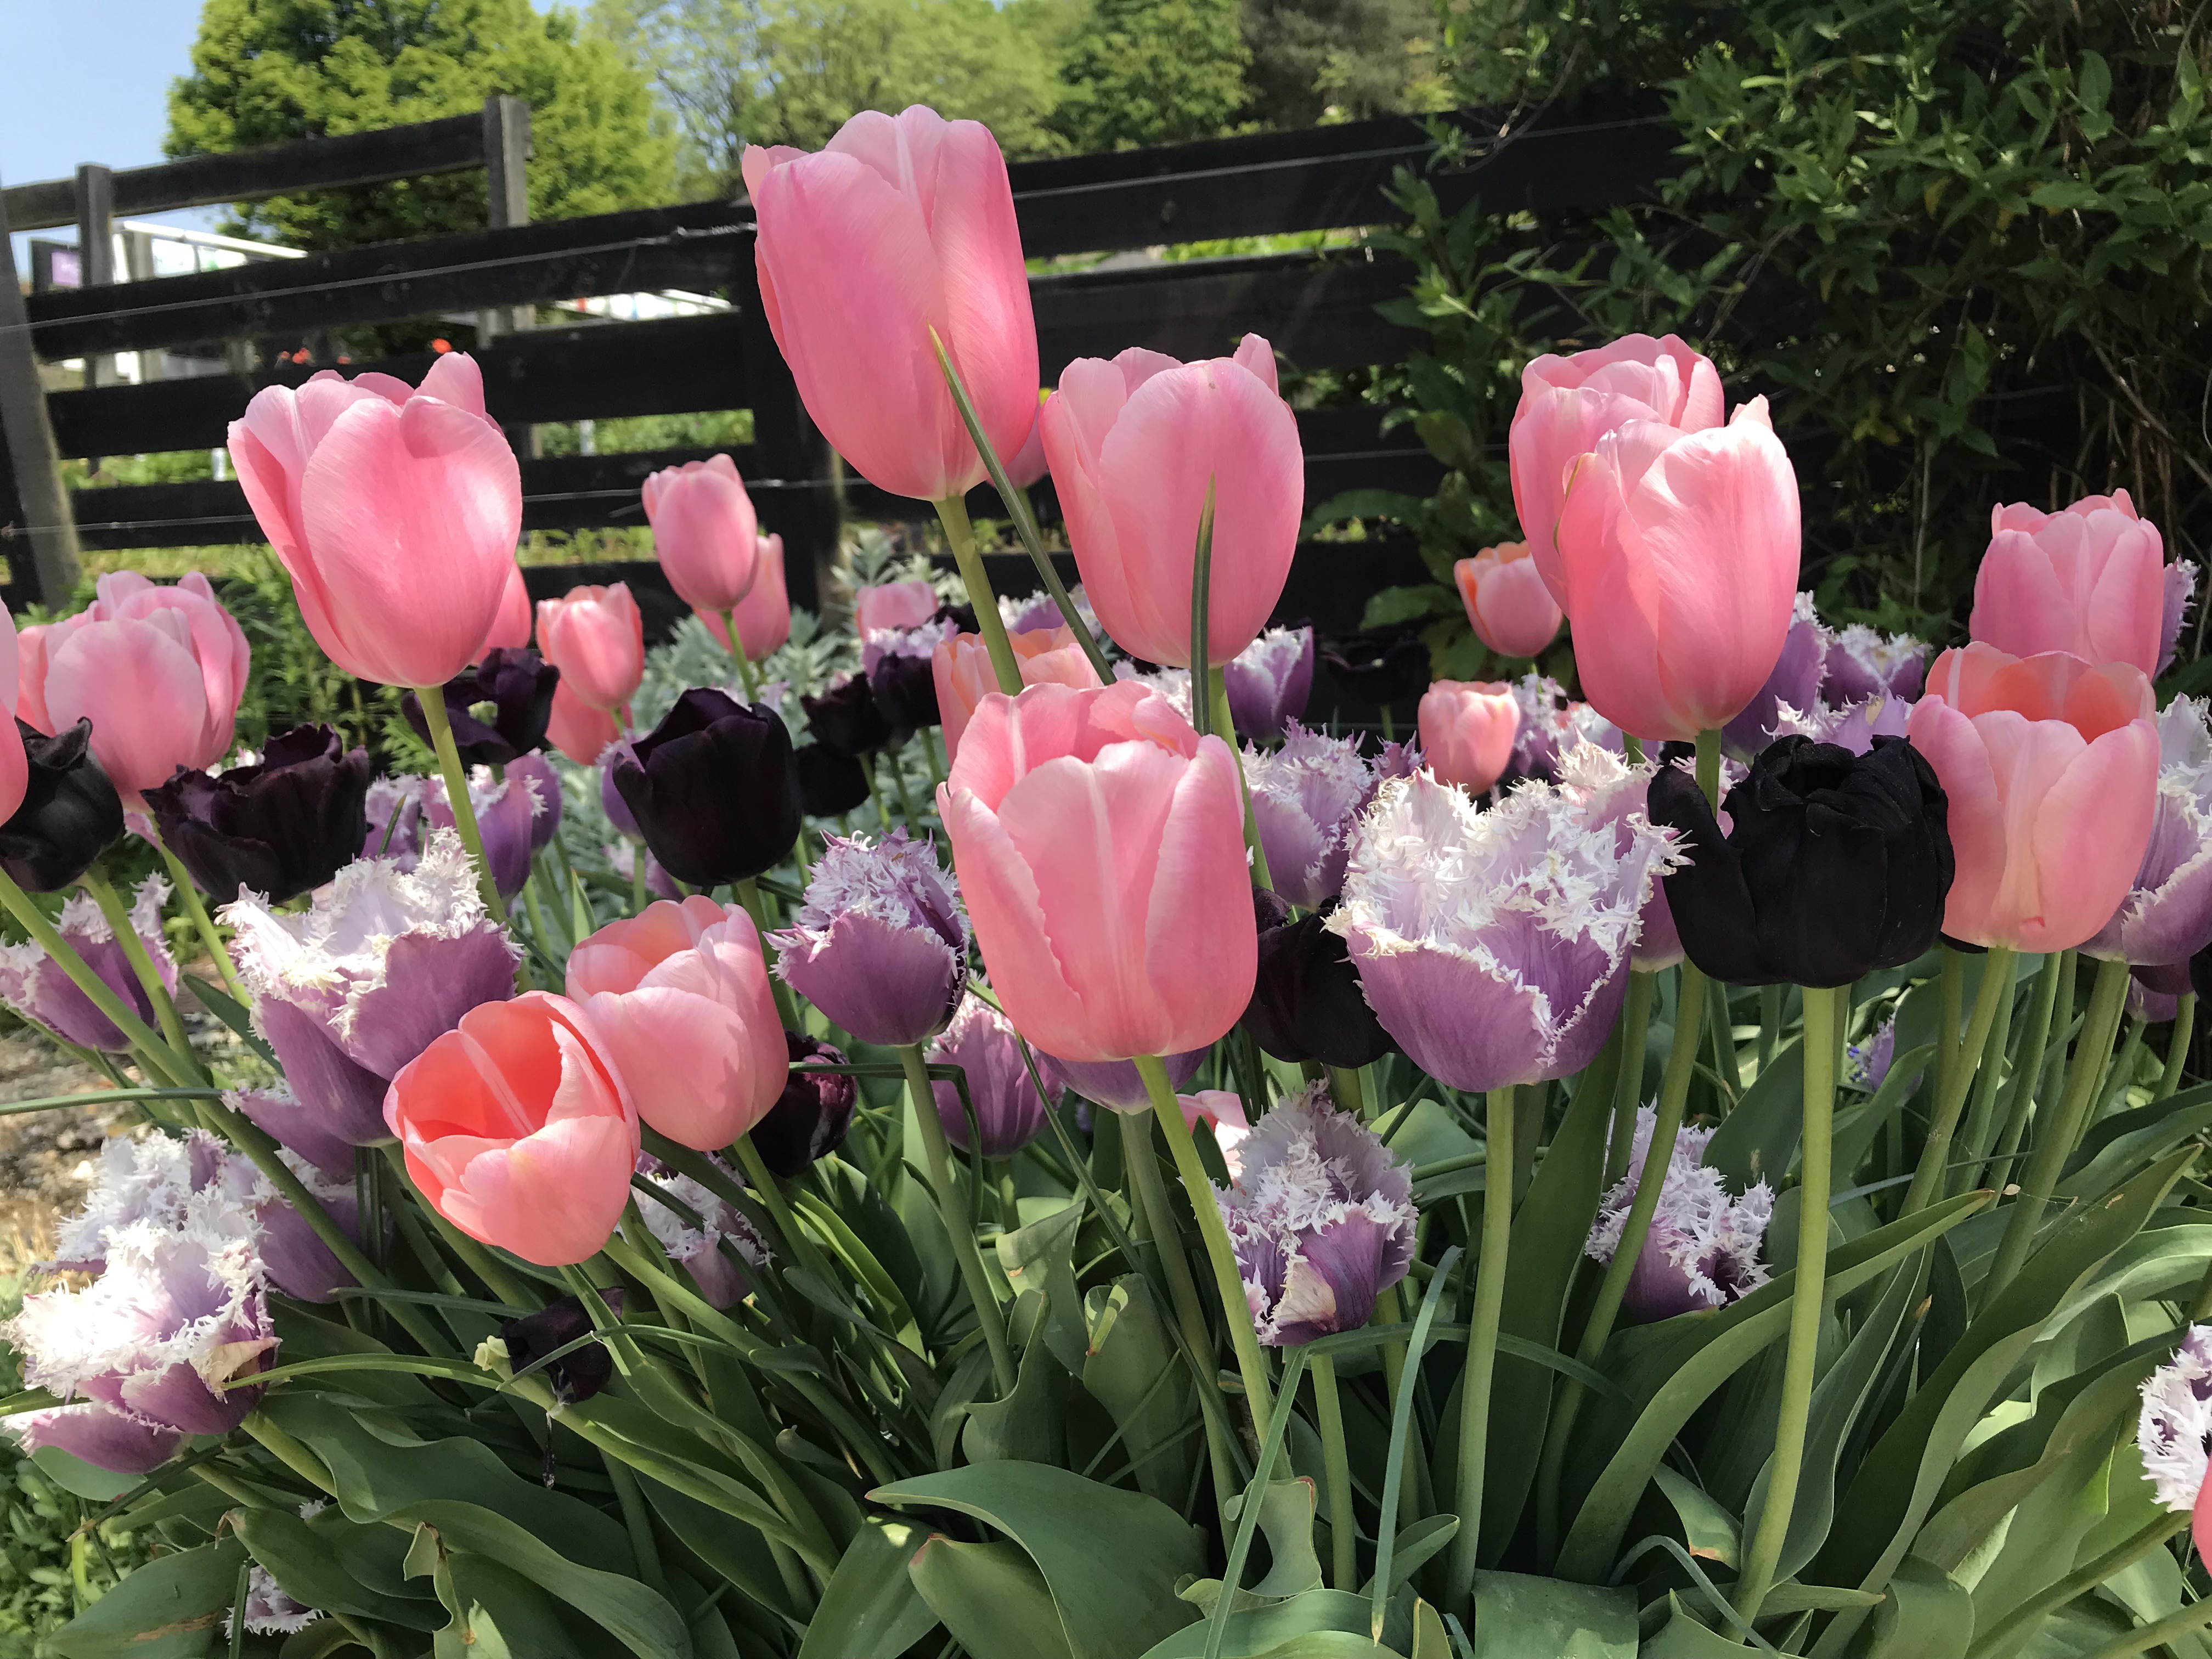
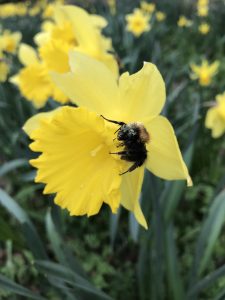
As I said above, bulbs can offer tremendous variety in the garden. When thinking of bulbs, most of us will immediately think of Crocus, Narcissus (daffodils) and Tulipa (tulips) – which are beautiful and a must in any garden where conditions and space allow. But it is worth considering a range of other plants also, where buying them as a bulb will be much cheaper than buying a plant which is about to come into flower. Alliums (ornamental onions) are now popular and easy to come by. These purple globe-like heads, made up of many tiny flowers, are available in a range of shades and sizes, from the standard Allium hollandicum (see RHS profile here) and its many cultivars, to the giant, alien-like Allium “Schubertii” (see here). A slightly different twist is Allium sphaerocephalon (drumstick allium, see here) – a small bulb, which develops a compact egg shaped head of pinky-claret flowers on a slim stalk in July/August.
Note that Galanthus (snowdrops) are only possible to plant as bulbs in August, and must come in superb condition and careful packaging, and be planted absolutely as quickly as possible. This is because the small bulbs dry out and become unusable very quickly. It is therefore morecommon to buy them “in the green” to plant in springtime. However the snowdrop’s enormous cousin, Leucojum aestivium (summer snowflake, see here), can be bought and planted in Autumn as a bulb, and will produce 30-50cm tall snowdrop-like flowers in spring. It is a fantastic addition to any sunny spot.
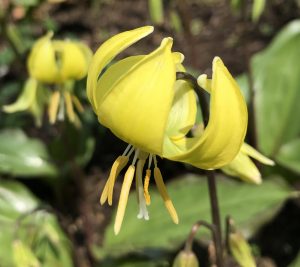
Another firm favourite of mine is Erythronium dens-canis (dog-toothed violet). Different cultivars offer flowers that range from purple to white or yellow. Strictly speaking, the plant grows from a tuber rather than a bulb, but the Autumn planting method is the same. These sprout thick, often marbled leaves, with drooping star or lantern shaped flowers held above them. The petals are often reflexed (pointing backwards) which gives an exotic effect to this woodland plant.
When to plant
Generally the earlier bulbs flower, the earlier you plant. Crocus and Narcissus (daffodils) can should be planted in September, or by October at the latest. Leucojum and Erythronium can go in the ground from late September – early December (once the ground is cooler, but before it is frozen). Remember that Tulips need to wait until November: This reduces the risk of blight developing if the tulips are exposed to warmer soil temperatures when planted. If you miss these planting windows, your bulbs will have less chance of success, but it is still worth getting bulbs in the ground in Autumn/Winter. Otherwise you will be trying to keep them dormant for a year to plant the next Autumn and it is unlikely they will stay healthy.
How to plant
By their nature, plants that form bulbs tend to be narrow, upright plants – with a few long strappy leaves and often a single bloom. This can mean that they look strange, or a bit lonely, if planted individually. Here are some options for planting:
To make a noticeable impresssion in your beds, plant bulbs in groups. Plan where you want the bulbs in the same way as you would site any other plant, deciding where each group will go before you start planting. Dig a hole large enough for a group of bulbs (there is no set number, but I would recommend between 5 and 11, depending on the size of the plant), making the depth three times the height of the bulbs. If the soil is heavy and does not drain well, you can put a layer of grit or gravel at the bottom to ensure that the bulbs are not sitting wet. You can also add a sprinkling of Fish Blood and Bone fertiliser to feed the bulbs and aid strong and healthy growth. Place the bulbs in the hole, so that they are not touching each other, as this can encourage them to rot. Make sure the root plate is downwards and touching the soil and the pointed shoot end upwards, then cover over with soil. Pat so that the soil is well settled over the bulbs, but there is no need to tread the ground, or compact it down, as this will make it hard for your bulbs to grow.
When putting bulbs in a more densely planted border, you may wish to weave them between the other plants. Scatter the bulbs gently on the soil, to get a natural-looking distribution. Or if you have a more formal plan you can place them in an exact spot. Then use a trowel or bulb planter to dig a hole (three times the height of the bulb), place the bulb in (right way up, with fertiliser if required) and cover. It is better to scatter all the bulbs first, and work systematically along the bed, to avoid digging up bulbs you have already planted and ensure your bulbs are distributed over the required area.
You might want to plant “en masse”,using such a large number of bulbs that an entire bed or area is taken up with their blooms. When doing this, it is best to “trench plant”. Remove all the soil from the area to be planted to the appropriate depth for the bulbs, add grit and fertiliser and then scatter the bulbs in the trenches before re-covering the whole area with soil. (You can attempt to plant in a pattern, such as a checker board, but bear in mind this could be hard to control over a large area).

A final option is “naturalising’ the bulbs in grass, which means making them look like an organic part of a lawn or bank. For this method, it is highly recommend to scatter the bulbs by gently throwing them across the area, as this will give an uneven distribution which will look less artificial and therefore produce the impression that the bulbs have found their way there through nature rather than design. Plant each bulb by cutting a hole from the turf (a triangle shape is often easiest to remove) and then replacing the clod on top, with the turf still on top. Once again, you can add fertiliser to the hole to aid the bulb’s development.
Aftercare
Most bulbs are perennial and should come back year on year – although the highest quality professional displays will see bulbs being dug out and fresh ones planted each year. Some bulbs (like alliums) will get bigger and stronger over time, and some (like daffodils) will naturally divide in the soil to create additional plants – so you may find you need to keep them in check by digging out overly large or spreading bulbs. Others (such as tulips) may start to wear out and become tired. The easiest method is to keep an eye on your bulbs when they flower each year. If the impact is starting to fade, consider a top up of bulbs the following autumn.
If the plants are starting to look diseased, or do not reappear, then dig down to find the bulbs and see if you can spot an immediate problem. The bulbs may be sitting too damp and rotting away while dormant, or could be being eaten by pests. Tulips can develop a fungal blight, also known as Tulip Fire (which easy to see as it causes distorted leaves and flowers), in which case the soil will be affected for several years and no replanting of tulips will be possible during this period. This can be an argument for digging up tulips each year, but it is for you to decide whether the time and expense is worthwhile, or whether to take the risk and live without tulips for a few years if the disease occurs.
To refer to my blog post from Sept 2017, click here